I always loved Photoshop for its ability to create Actions, and in turn automate a LOT of my work by leveraging those actions to create Photoshop Droplets for batch processing.
And, the best part is I can access these Actions from directly within Lightroom.
By leveraging Droplets within your Lightroom workflow, you can take advantage of Photoshop’s powerful batch processing engine to do all sorts of things with your images beyond what is available in Lightroom, or to enhance work done in Lightroom to add some final touches.
I’ll be honest with you, this is not a new feature, but it’s one that I rarely see folks use. I think Adobe could have done a better job at the integration of Droplets into Lightroom, because it’s not as straightforward as one would expect – but that shouldn’t stop you from taking advantage of a super cool feature!
Get ready to rumble
In this example, we’re going to take a selection of images and fire off a droplet which we will access via the Export dialog.
But, before we start throwing Droplets around, let’s set the stage for preparing a Droplet in Photoshop for later use in Lightroom.
In this example, I’m going to use one of my favorite Photoshop Actions from Kevin Kubota’s Image Tools Collection called KPD Magic Sharp. I’m in no way on Kevin’s payroll or making affiliate commissions off his product(s) – I just LOVE the quality and flexibility of this action for export sharpening.
Yes, you can do some extensive sharpening in Lightroom, and we’ve written about that as well, but I prefer to use a fine tuned sharpening Action like KPD Magic Sharp on select projects like this one. Whatever Action you want to use, this workflow will be the same.
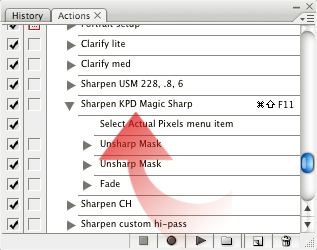
Next, let’s fire up Photoshop and prepare our Action for use as a Droplet in Lightroom. Here in Photoshop, you can see my particular KPD Magic Sharp Action I want to use in our example:
{note: If you want to avoid having to save each image one-by-one as they are batch processed in Photoshop, make sure your Action includes a Save command in it’s final step. Since this is not a tutorial on how to create Actions, if you have questions regarding this sound off in the comments below and we can assist you.}
Creating a Droplet from this Action begins by heading up to the menubar and selecting File >> Automate >> Create Droplet …
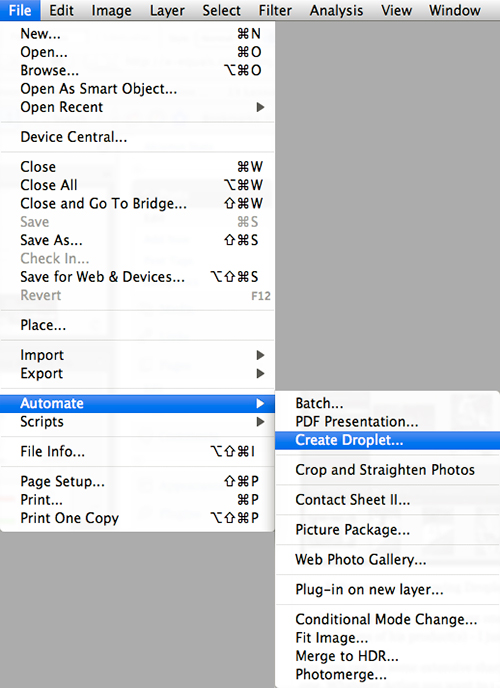
You will be presented with the Create Droplet dialog:
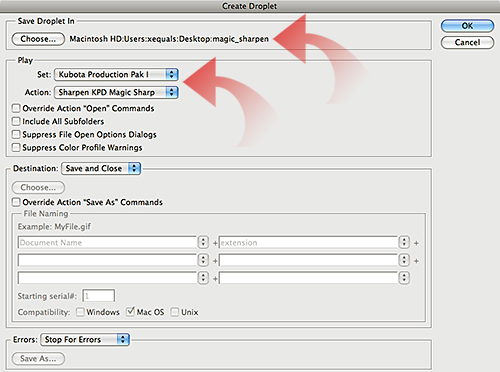
I generally concern myself with 3 items:
- Save Droplet In: This is where many people get confused. Lightroom will look for the Droplet in a particular location, but we can concern ourselves with that later. For now, save this to the Desktop or a place where you can reach it easily.
- Set: I have my Actions separated into sets. If you are using the standard Photoshop Actions you will select Default Actions.
- Action: Just as it says, select your particular Action you want to fire off – in my case Sharpen KPD Magic Sharp.
Select OK
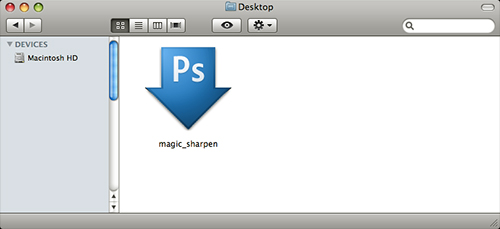
Here’s our Droplet on the Desktop:
Time to throw down
Now, let’s go back to our original selection in Lightroom and select from the menu bar File >> Export or shortcut key {mac} Command+ Shift + e {pc} Ctrl + Shift + e to bring up the Export dialog:
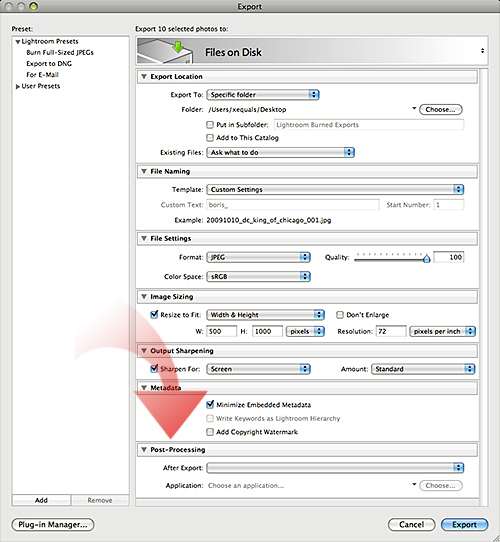
… and we’ll focus on the Post-Processing panel – specifically the After Export: drop-down:

Select the Go to Export Actions Folder Now option and you will be presented with the folder where Lightroom wants to look for any Droplets you may have created:
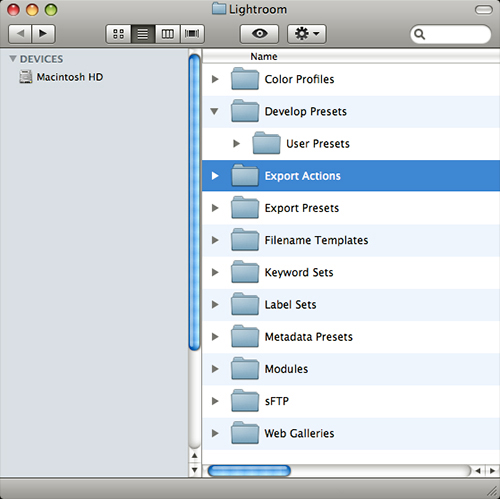
Simply go to your Desktop or wherever you previously saved your Droplet from Photoshop and just move it to this folder. If you’re just dying to know where this folder is located so that you save your Droplets directly to this location it’s in the Application directly for Lightroom (mac or pc).
And there we are:
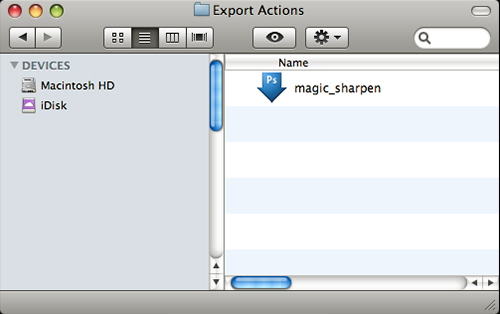
Now when you go back to Lightroom, you should see that your Droplet has now magically appeared in the Post-Processing panel:

Select Export once these updates are complete and Lightroom will Export your images, and send them over to Photoshop for the final processing based on your Actions settings.
{note: If you want to avoid having to save each image one-by-one as they are batch processed in Photoshop, make sure your Action includes a Save command in it’s final step. Since this is not a tutorial on how to create Actions, if you have questions regarding this sound off in the comments below and we can assist you.}
Yeah, I know I gave you this note twice, but it makes all the difference when processing multitudes of images – trust me!
I like to keep things simple, and this is as simple as it gets when it comes to using a Droplet in your workflow. Once you get the concept down, the possibilities are endless!


