Auto Sync has changed my life.
I have easily squeezed an hour out of my workflow by making Auto Sync a primary tool in my arsenal.
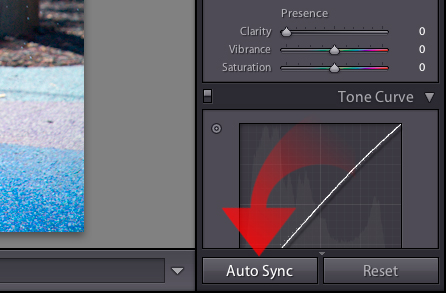
I won’t go so far as to say Auto Sync is a ‘hidden’ control, rather it’s just a bit out of the way in the interface – accessible via the {Ctrl} key on PC or {Command} key on Mac. Let’s look at a sample workflow.
Here we have a series of 3 images that I want to correct:
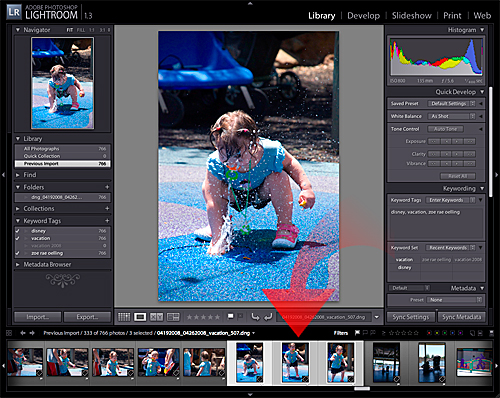
First, I’ll select all the images I wish to correct, then hold down the {Ctrl} key on PC or {Command} key on Mac and select Auto Sync:
Before I make any adjustments I also increase the size of the thumbnails to get a feel for the adjustment(s) as they propagate across my selection:
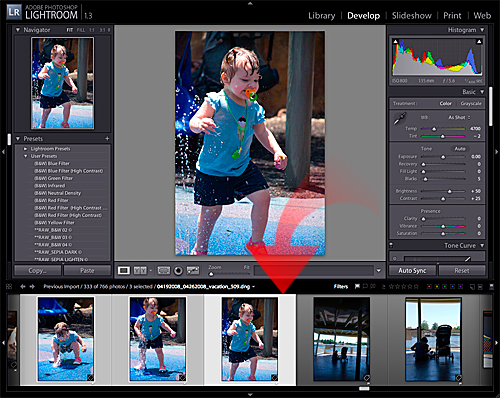
Once all my adjustments are complete, I hold down the {Ctrl} key on PC or {Command} key on Mac and select to set things back to the plain old Sync mode we see as the Lightroom default.
The possibilities are endless with this tool. You can auto sync not only develop panel adjustment … but also croppings, even spot removal!
This is one of those techniques that allows us all to work SMARTER and not HARDER … which is always a step in the right direction in my book.
Until next time … happy sync’ing!


