With the availability of XEQUALS presets for Adobe Camera RAW (ACR), you can have your post processing cake and eat it, too.
XEQUALS presets for Lightroom gives you fantastic choices for applying the color and tonal look of specific kinds of film to your image. The team at XEQUALS determines the right formulas of Lightroom sliders saved as presets to achieve a specific look or film emulation.
The downside of using Lightroom itself is that the color and tonal impact of the presets is applied to the whole image. Wouldn’t it be great to be able to apply an XEQUALS preset to an image and control which areas of the image are changed based on tonality?
The good news is that with XEQUALS ACR presets, you can do just that and with precision. It yields much more subtle and realistic results.
I’m going to walk through applying an XEQUALS ACR film emulation preset to an image and demonstrate how to apply the result from ACR to the image proportionally, based on the tonality in the image.
This is a photograph with strong highlights and strong shadows, with details in the shadows.
This will be an excellent example of how to use luminance masking to proportionally control the application of XEQUALS Color For Photoshop.
Let’s start by opening the photo in Photoshop.

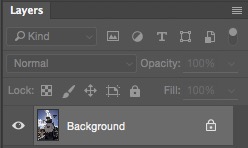
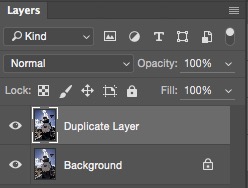
Let’s make copy of the Background image layer. Press Ctrl + J for PC or CMD + J on Mac.
With the duplicate layer selected, click on the Filters menu, and then click on Camera Raw Filter.
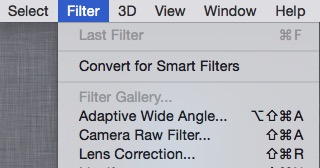
This will open Adobe Camera RAW (ACR) as a filter in Photoshop.
Select the last icon in ACR, which looks like 3 sliders. This is the Presets list. You will see the list of XEQUALS color presets that emulate the appearance and style of various traditional films.
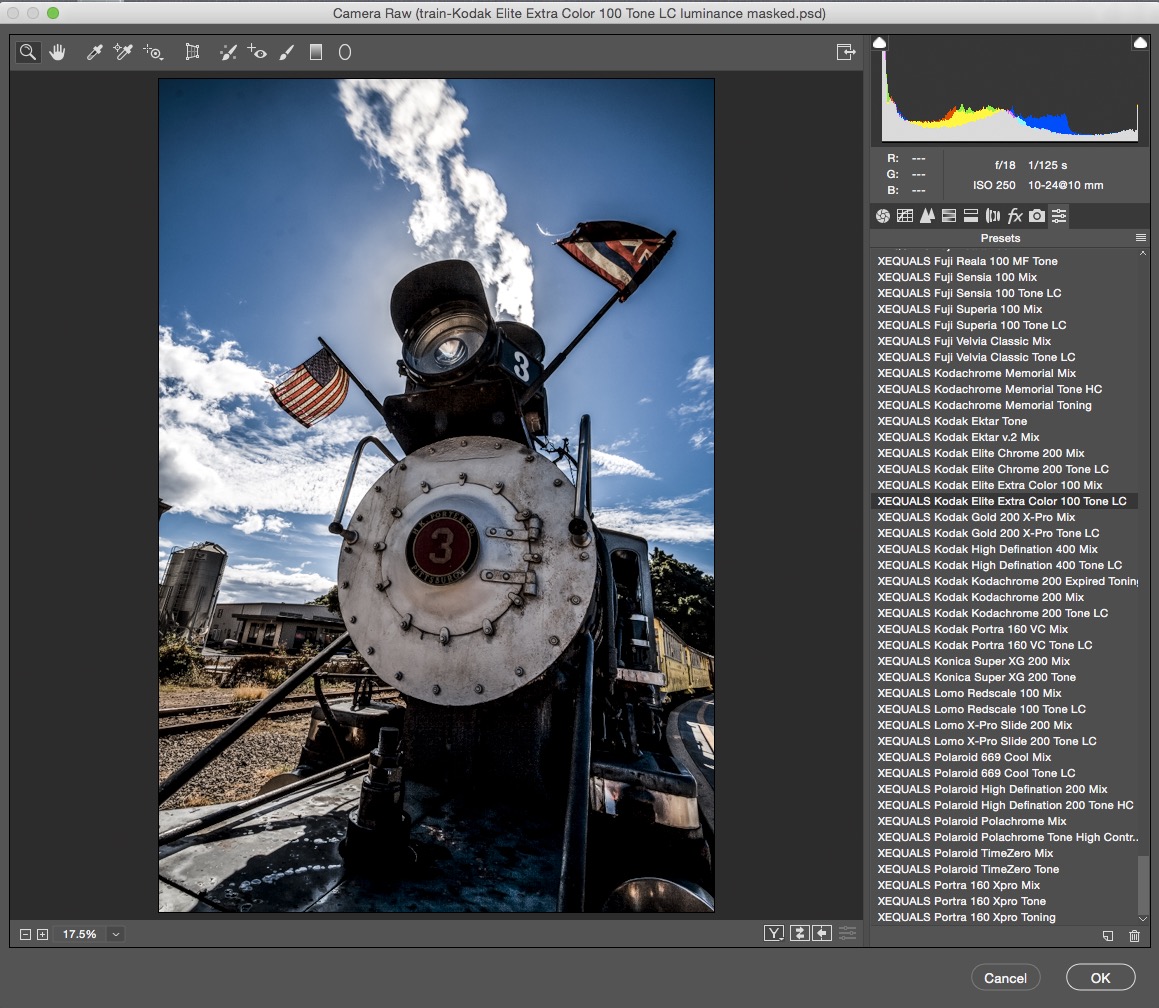
I like the look and style of the Kodak Elite Extra Color 100 Tone LC preset. When it is selected, you see a preview of the image with that preset applied.
When you click on the button at the bottom of the image that looks like two Y’s, ACR will show you a before and after side-by-side preview comparison. This preset gives the image a sharpened and more contrasted appearance, but it also significantly darkens the shadows that had details in them and clips them to black or nearly black.
Wouldn’t it be great if we could achieve the look of this preset without clipping the shadows and losing the details in the darker tones?
We can. Very easily.
After selecting the preset and previewing the result, we click OK at the bottom of the ACR window to accept.
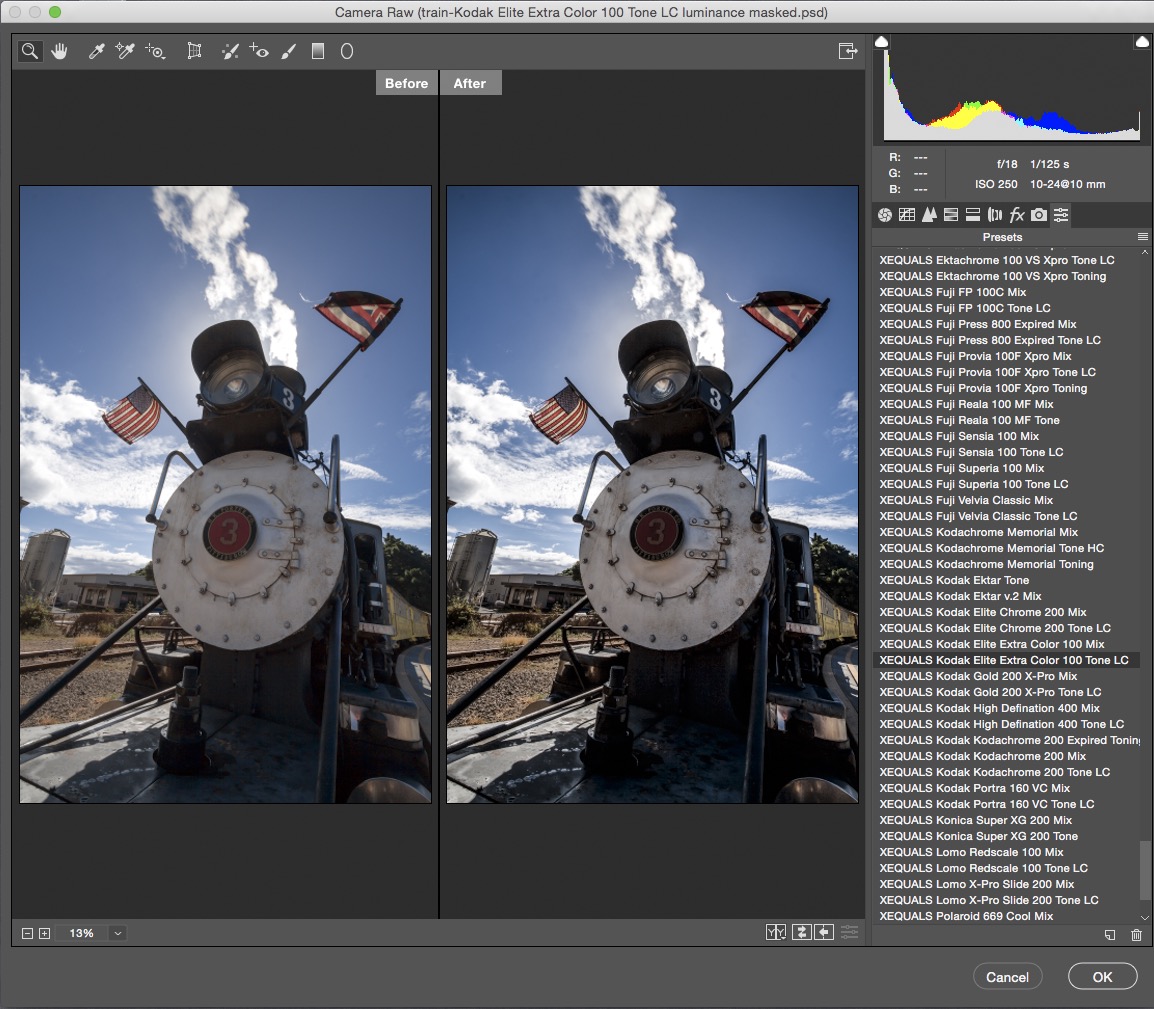
As predicted, the duplicate layer with the XEQUALS ACR preset Kodak Elite Extra Color 100 Tone LC has sharper details and more tonal punch (contrast), but we lost detail in the shadows, and the darkest shadows have clipped to black.

If we were using the Elite Extra Color 100 Tone LC preset in Lightroom, we would have had to try and recover those darker areas using local brush adjustments. Not a very precise method.
Because we are using this adjustment in Photoshop, applied on a layer, we can use the tonality of the image itself to proportionally apply the result of the ACR preset.
We are going to create a selection based directly on the tonality, aka the luminance, of the image.
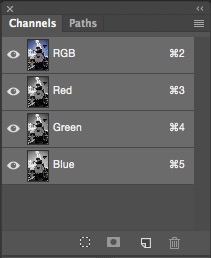
Find the Channels Palette and click on RGB. You are selecting the RGB composite channel. Next, click on the selection icon at the bottom of the Channels Palette, which looks like a dotted line circle.
After you have made a selection of the RGB Composite channel, return to the Layers Palette. With the Duplicate Layer selected, click on the mask icon at the bottom of the Layers Palette, which looks like a rectangle with a circle inside. This will apply the RGB Composite Channel selection as a mask on the Duplicate Layer.
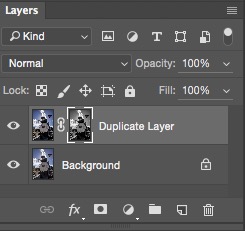
Here is the result. The details in the shadows are retained; they are still visible, and the contrast of the result is not nearly as harsh.
There are endless additional methods and choices to create luminance-based masks with which to proportionally control the application of this ACR preset on a layer.
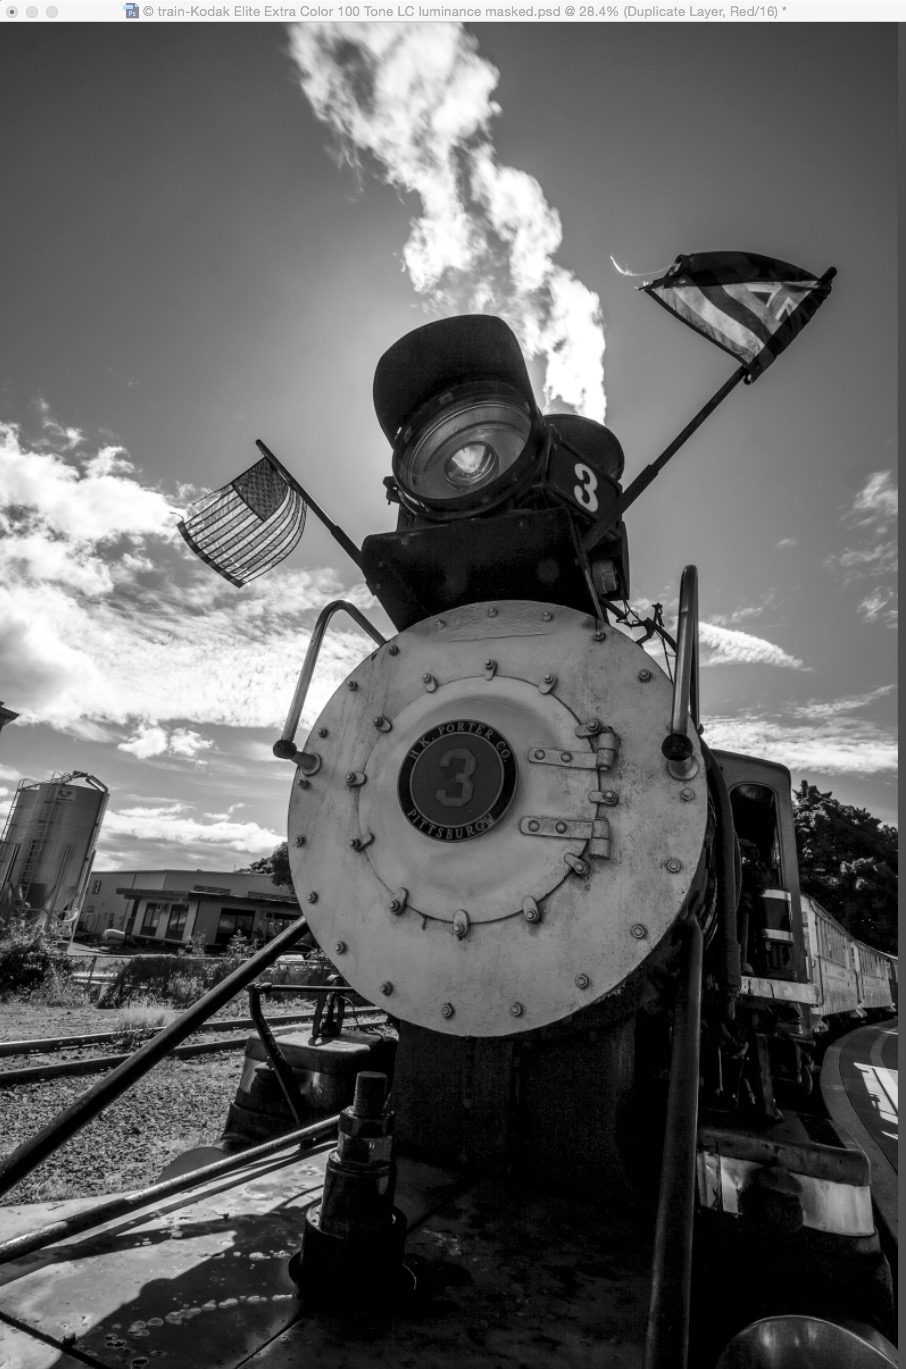
The mask could have been created from a selection of just the Red channel …
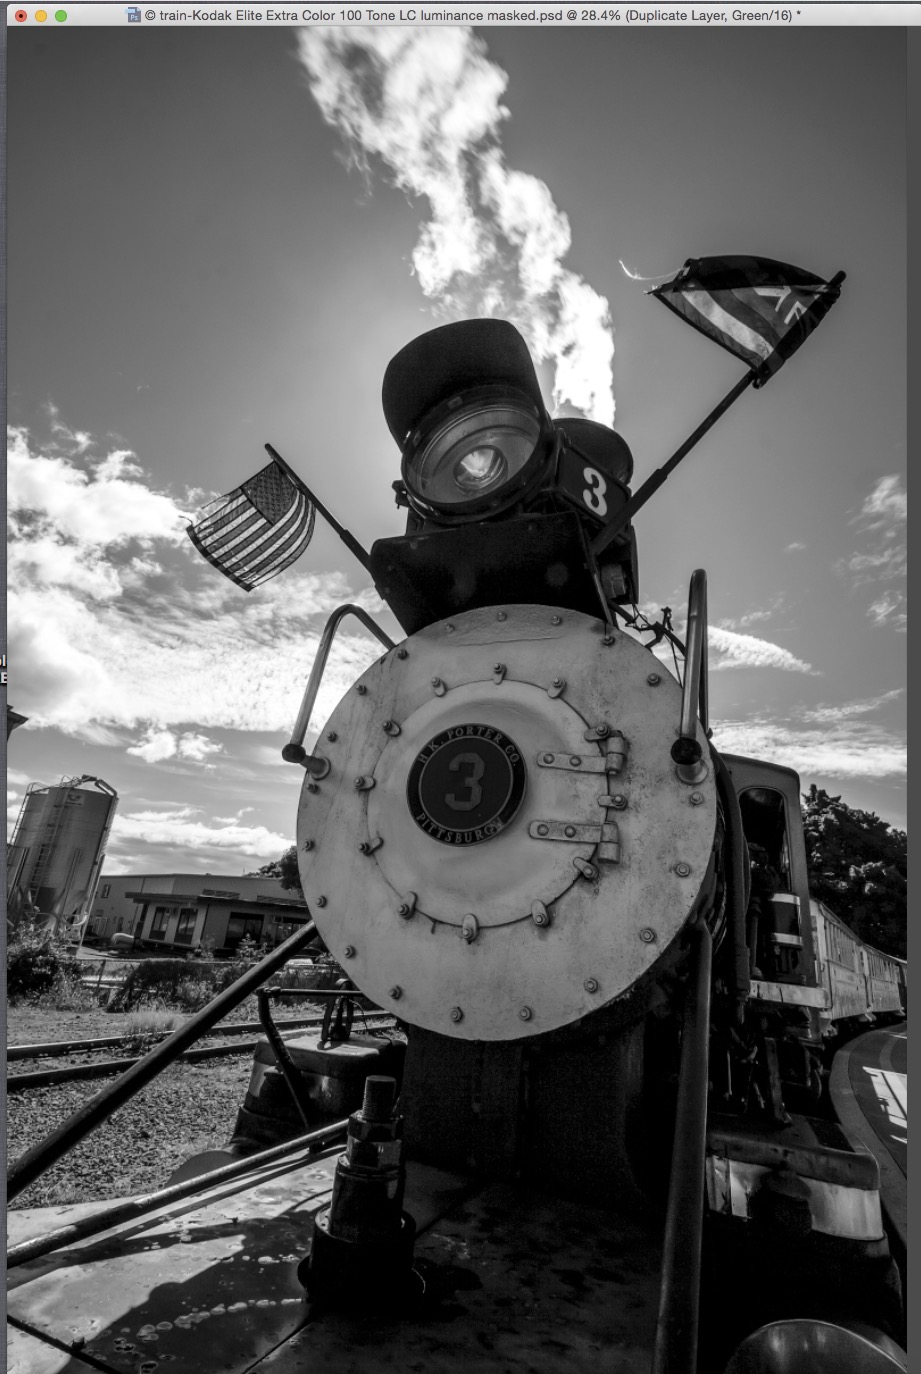
or the Green channel …
or the Blue Channel.
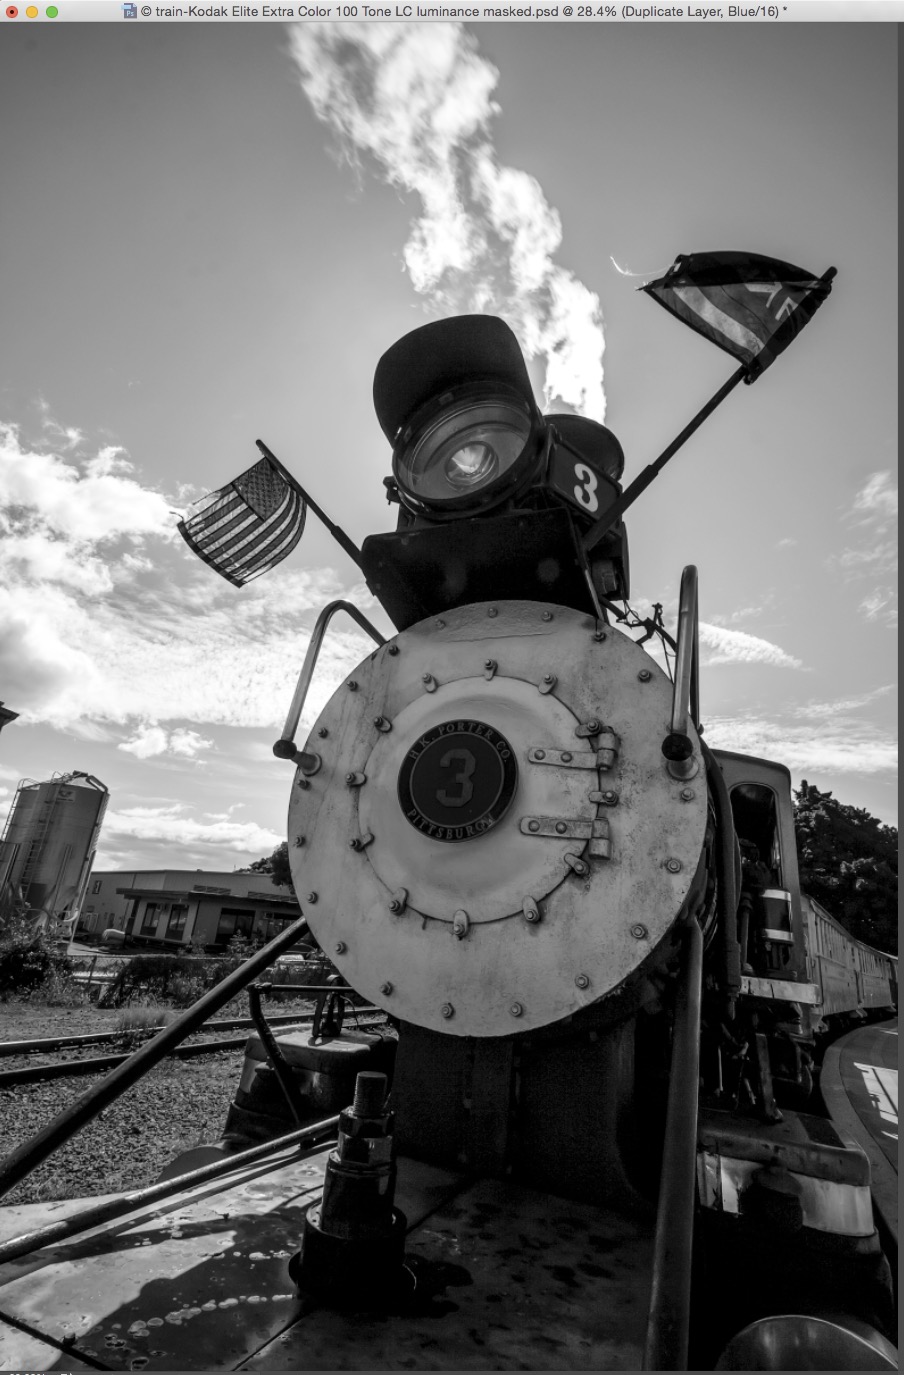
Each has different tonality, aka luminance.
If you want to really explore precise luminance-based proportional masking to control the application of layers in Photoshop, there are several 3rd party panels that make it easy to choose and preview selections based on very specific ranges of tonal selection.
My go-to luminance masking tools are the TK Actions v4 panel and TK Infinity Mask panel from Tony Kuyper. I also recommend Raya Pro and the simpler and free Easy Panel, both from Jimmy McIntyre/Shutter Evolve.
Now that you know exactly how to manipulate the tonality of your images using XEQUALS Color for Photoshop, let us show you how to get down with overlays and take your images to a whole new level.
All images © Michael Colby
